Are you a meticulous film photographer that prefers to record settings/locations for the film photos that you take? Are you looking for a simple and easy to use app for tracking and logging that information? Are you tired of the buggy, crash-prone, or convoluted photo logging apps currently available?
I happen to be all of those things. Which is why I developed MetaLog for iPhone.
MetaLog is a simple yet powerful data logging utility for photographers who want to quickly record photo metadata for photo cataloging or EXIF tagging during post-processing. In addition to keeping track of the settings for each photo, MetaLog can also act as an equipment inventory for your gear.
Feature Highlights:
If you need help, have any questions, want to report issues or have feature/enhancement requests, I would very much welcome any or all of that. You can reach me at metalog@accipiter.org.
MetaLog is available for download on the Apple App Store. I'm asking a modest fee of $0.99 because I put a boatload of work into learning a brand new programming language to develop this app (Swift), and I've had a lot of pain and frustration in doing so. I initally made this app for myself (because as I mentioned earlier, I wanted an app that worked with my workflow and was better and more usable than everything else out there), but when I saw how great it was turning out to be, I figured other people would like it too. That being the case, I feel like a dollar is a pretty fair trade.
Rest assured, in exchange for that investment I plan to continue developing the app and adding new features and listening to user feedback and feature requests. So if you want the app to do something, drop me a line. If I like the idea and I can make it work, I'll add it to the app. And you get it as a free update!
You can download MetaLog on the Apple App Store.
![]()
|
|
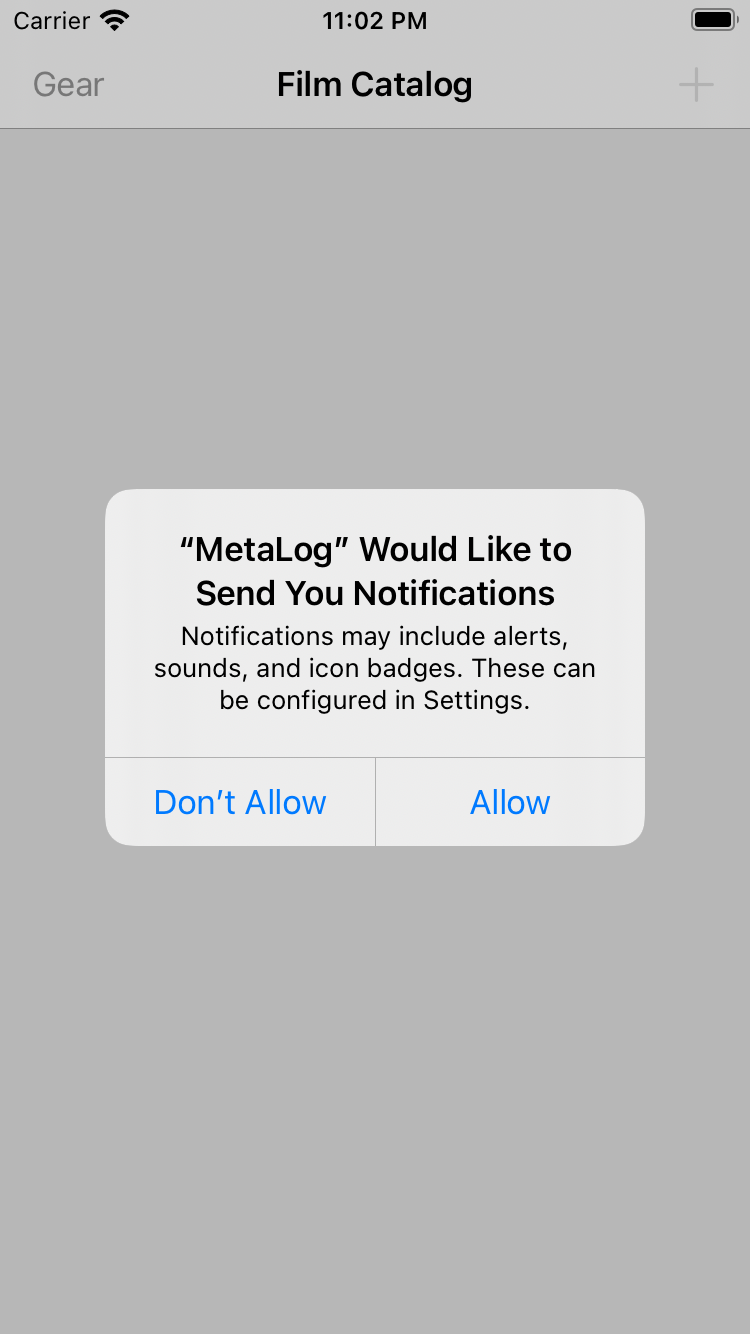
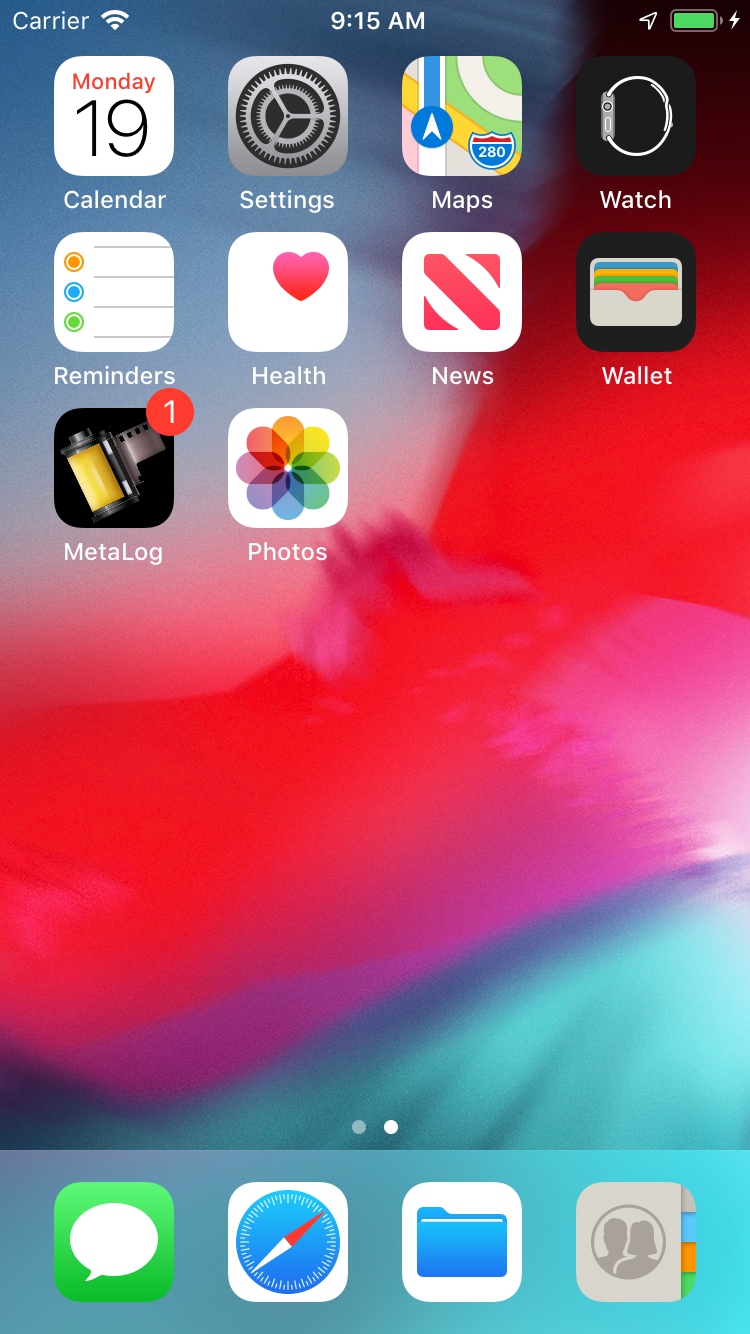
When you open MetaLog for the first time, you will first be prompted for permission for the app provide you with notifications. The application uses the home screen icon badge to let the user know the number of unprocessed film rolls in the database. No other notifications are displayed or received by the application. |
|
|
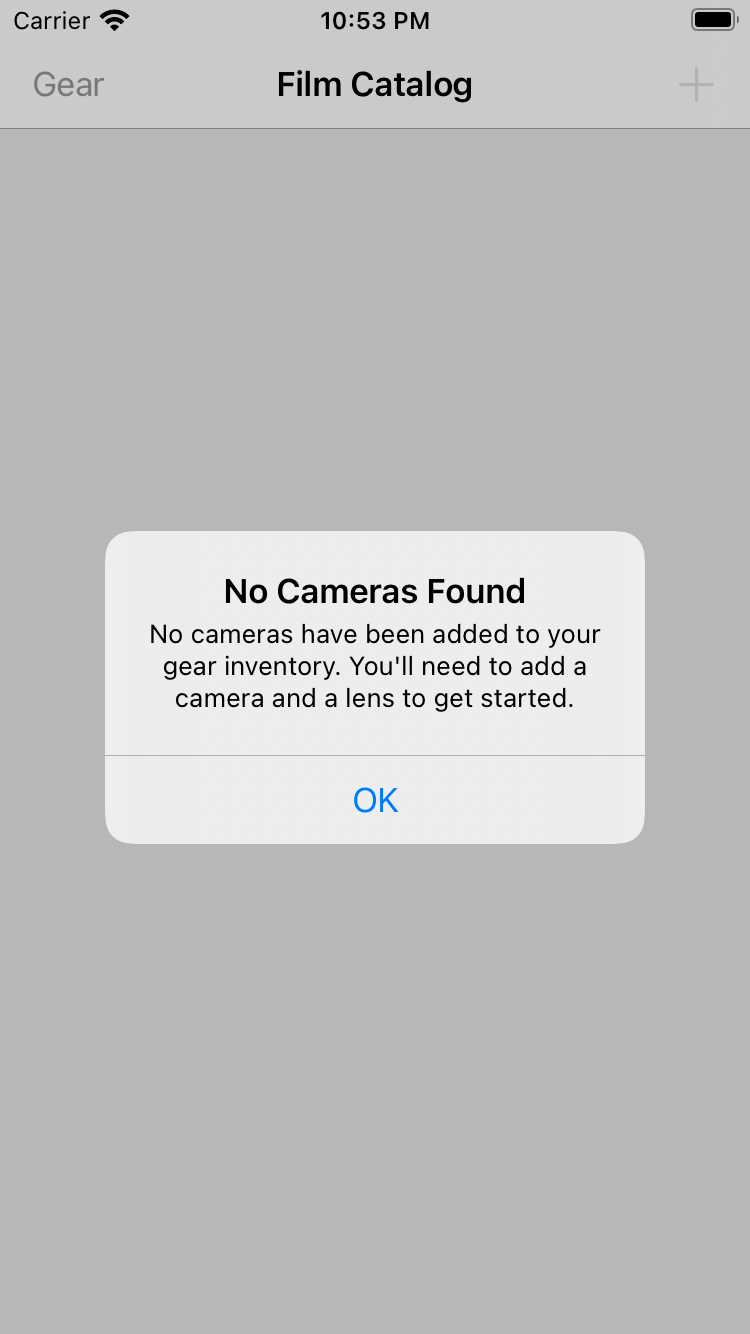
Once the user has selected the desired notifications permissions, MetaLog will display a warning that no cameras exist in the database. MetaLog is designed with various component dependencies:
So if no cameras exist, you can't create rolls, and subsequently cannot create frames. You will need to add a camera as well as an associated lens to begin using MetaLog. |
|
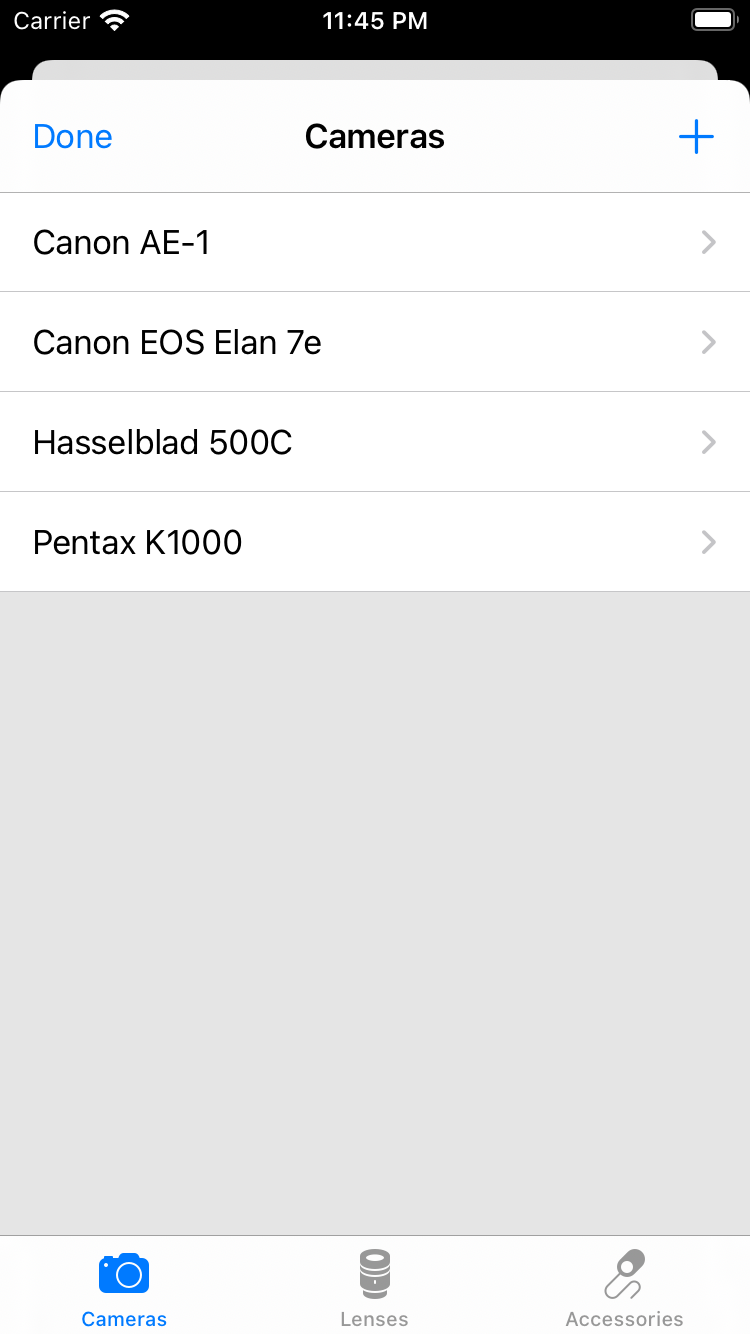
As mentioned previously, you can't do much of anything inside of MetaLog until you're working with some cameras. So you'll need to add a camera when you first run MetaLog. Tap the "Gear" button to bring you to the gear management interface, which defaults to the "Cameras" tab. The example screenshot to the right shows several cameras already added to MetaLog, however when you start MetaLog for the first time, this list will be blank. Simply tap the "+" button at the top right of the screen to add a new camera. You will then be prompted to enter information about your camera. Note that the camera brand and model are required information. You may also optionally enter your camera's serial number, however this is not required. |
|
|
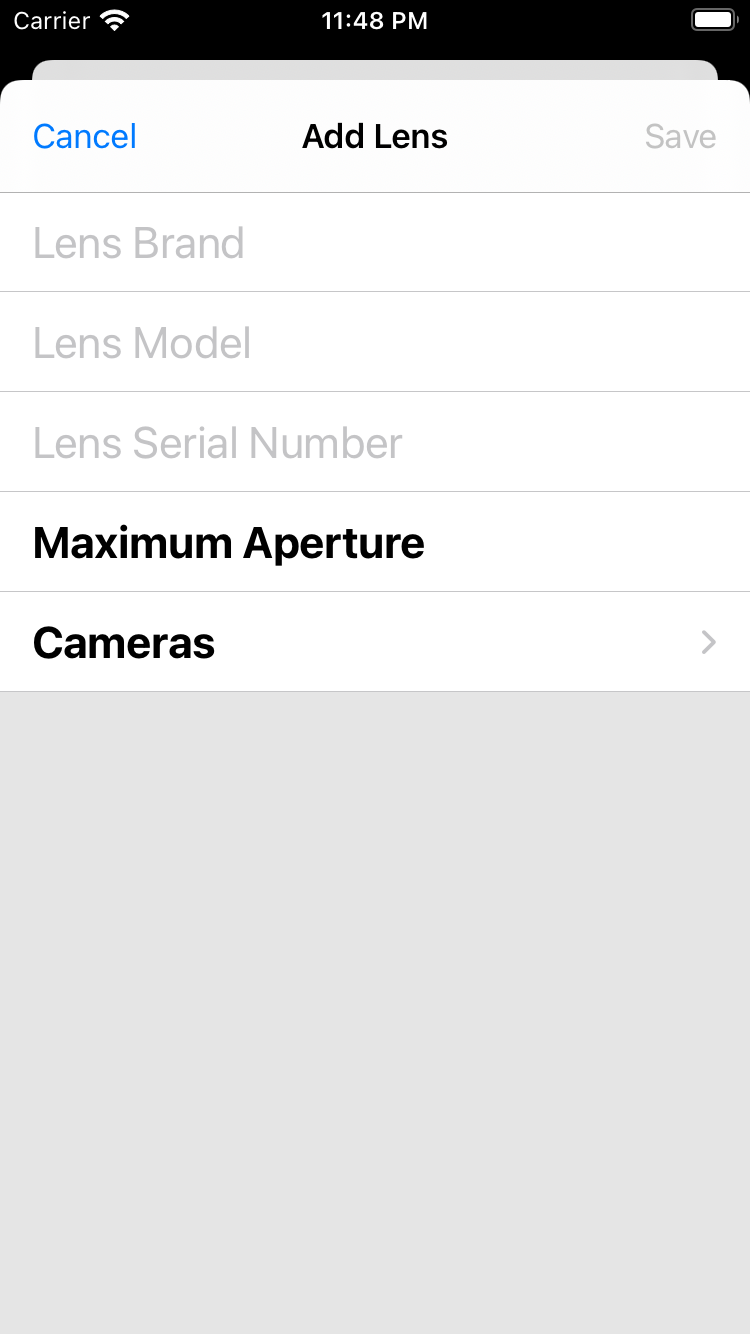
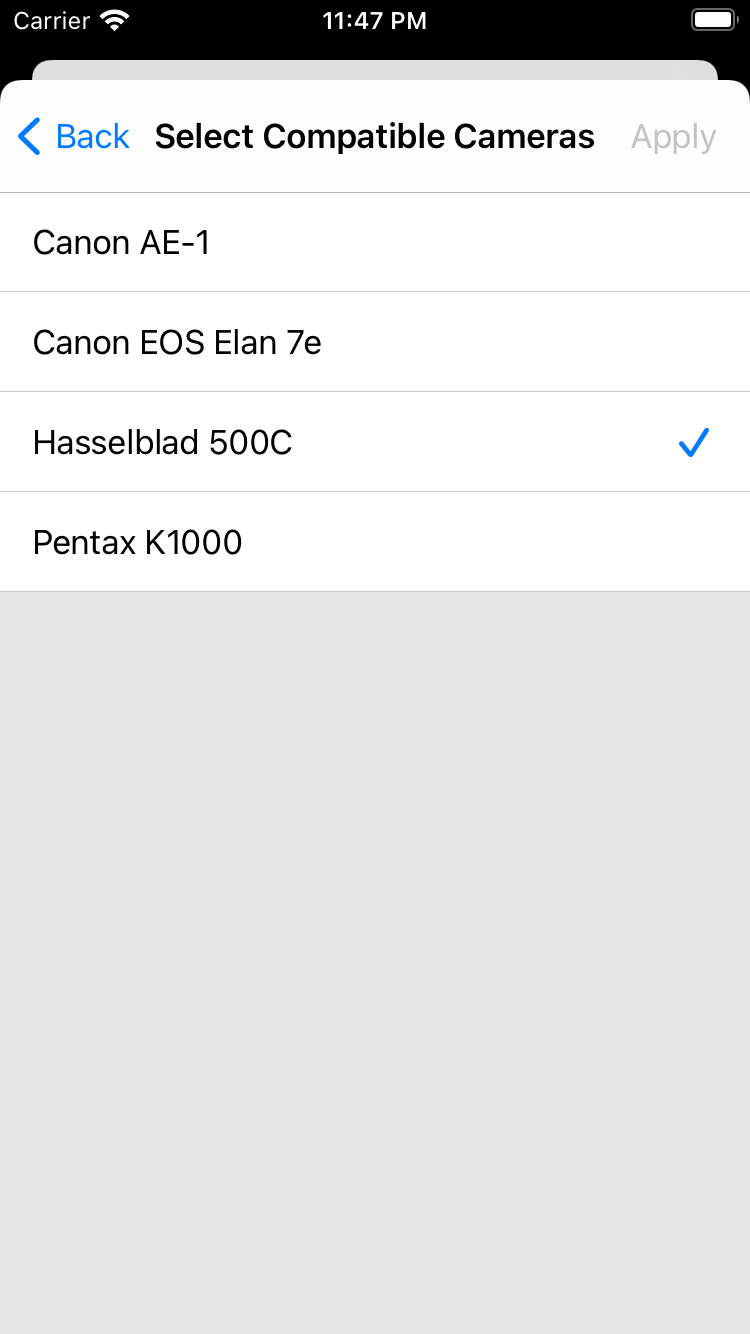
Adding lenses follows a similar process. Select the "Lenses" tab at the bottom of the screen, and follow the same steps to add your lenses to the gear inventory. You can enter the lens brand, model, and serial number. You may also specify a maximum aperture for the lens. MetaLog uses the specified maximum aperture to automatically filter on the widest aperture value when adding new frames. Note that if you've specified an aperture f-number value as part of the name, MetaLog will automatically guess that as the maximum aperture when you select to specify that value. Also note that when adding new lenses, you are provided with the option to select compatible cameras. Similarly, when adding a new camera you are able to select compatible lenses. MetaLog automatically updates the inverse relationships when they're first defined on either of these screens, so you only need to define the compatibility once. (So for example, adding a new lens and selecting two cameras as being compatible will automatically add that lens to the list of compatible lenses for each of those cameras.) NOTE: You must add at least one lens to any cameras that have been added to the Gear inventory in order to begin adding rolls to the Film Catalog. If your camera has a built-in lens, it is recommended that you use the information from the lens to create the lens entry in the Gear inventory, or if no information is available you can simply create a "Built-in Lens" entry and associate it with any appropriate cameras. |
|
|
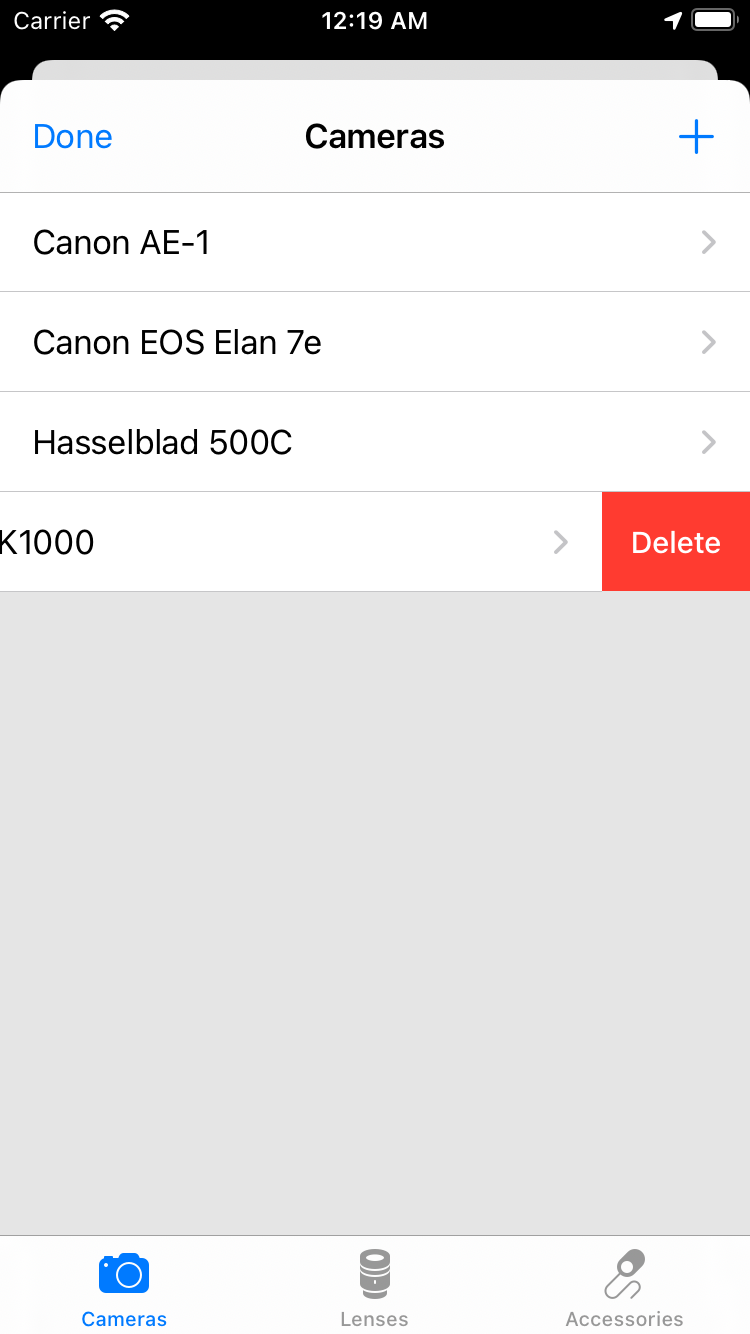
Deleting gear is simple. MetaLog supports swipe actions for all rolls, frames, cameras, lenses and accessories. However it's important to remember the dependency structure mentioned earlier:
This means that if you delete a parent dependency, all children of that parent are deleted as well. So for example, deleting a camera will also delete any rolls that were associated with that camera, and any frames that were associated with those rolls. Conversely, deleting a child has no effect on its parent. So if you delete a frame, its parent roll remains intact. If you delete a roll, its parent camera remains intact - however all of that roll's frames will be deleted. If you delete a lens which has been recorded in one or more frames, the lens data will be removed from all associated frames. In this instance, any frames which were associated with that lens will display a warning that the lens data for that frame is missing. The rest of the frame data will remain intact. If you re-add a deleted lens, you will need to manually re-associate that lens with any frames which were previously associated with the deleted lens. NOTE: If you delete all compatible lenses for any particular camera, you will no longer be able to add any new frames to any rolls that currently exist for that camera. You will still be able to edit existing frames, however no lenses will be available to select for those frames. NOTE: If you delete all lenses or cameras from the Gear inventory, you will no longer be able to add any new film rolls to the Film Catalog.Don't worry. MetaLog will ask for confirmation before deleting anything as well as warn you about any critical dependencies as part of that confirmation. |
|
|
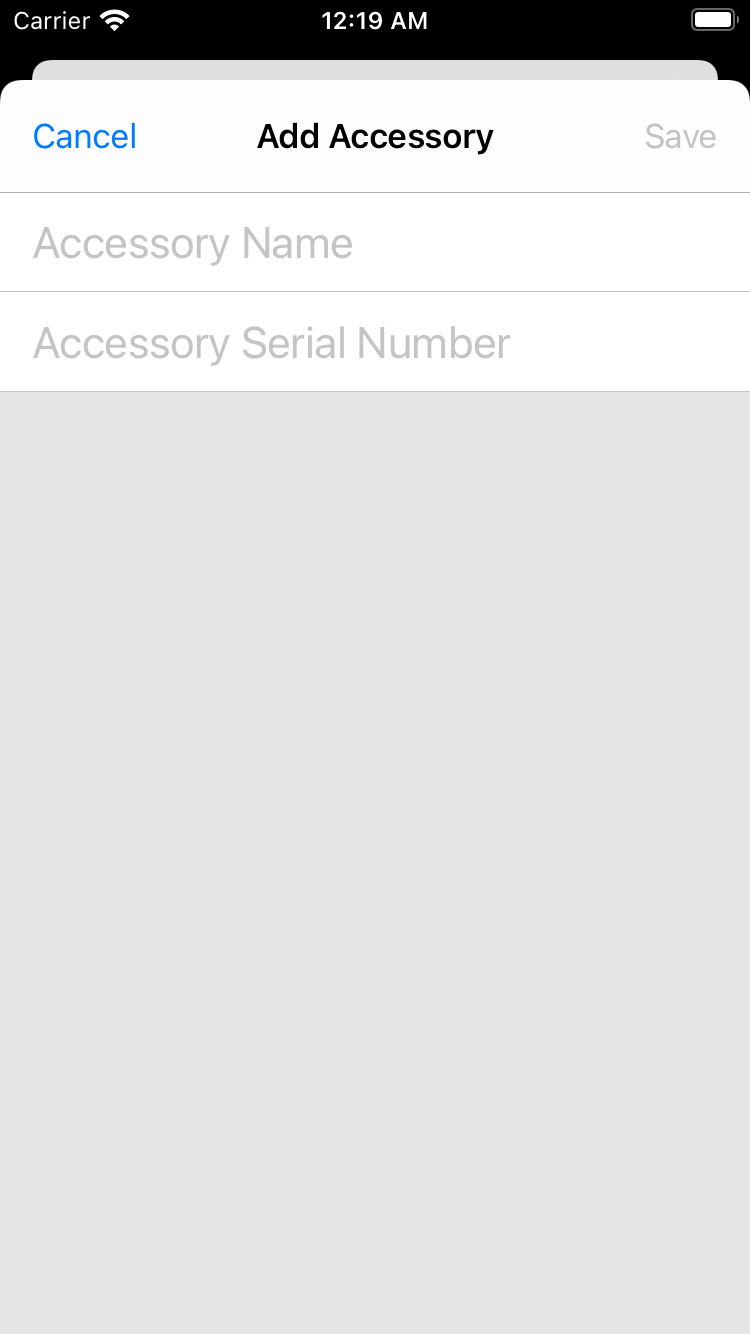
You also have the ability to add accessories to the inventory. These can be anything you'd like to include as having been used to take your photos. Anything from flashes, to teleconverters, to extension tubes and more can be added here - whatever you feel is important to include for information about the equipment used to get the shot. Serial numbers for accessories are optional just as for lenses and cameras. |
|
|
|
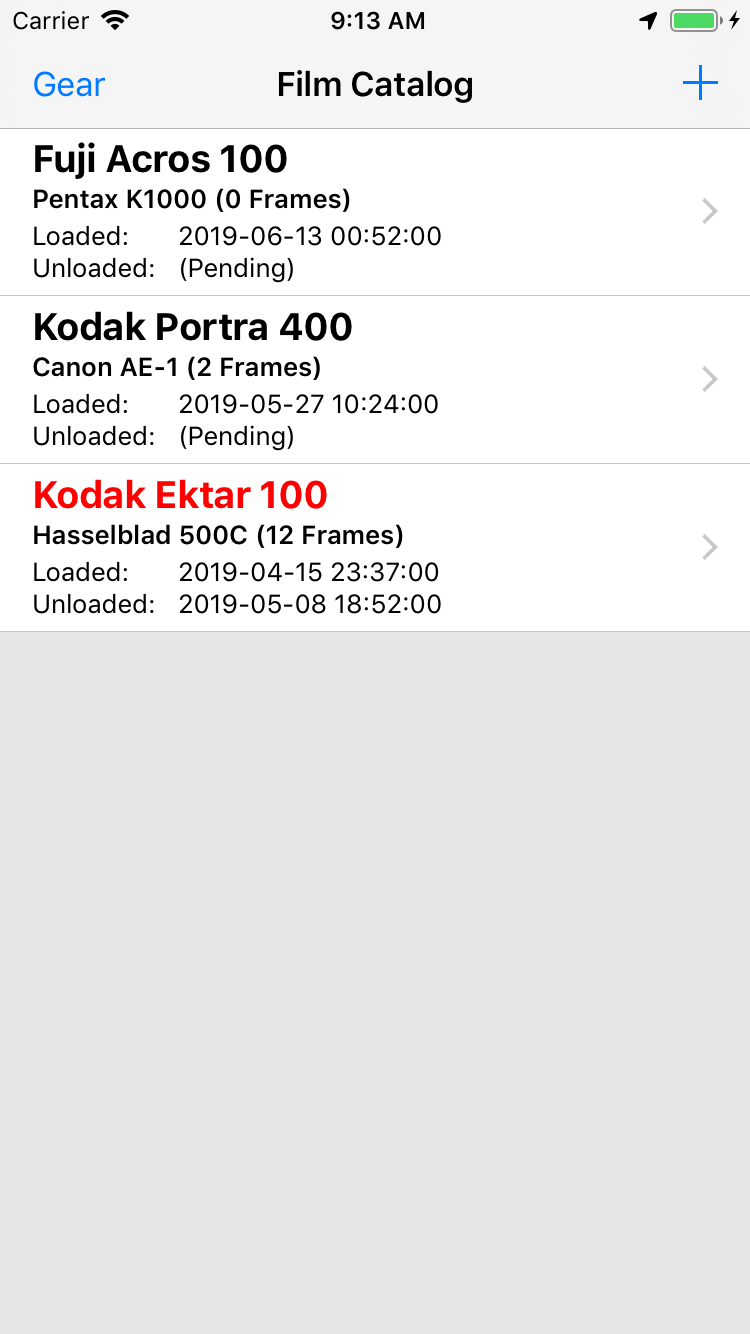
The Film Catalog is the first screen you see when opening MetaLog. This is a list of all of the film rolls you've added to the system. Each entry displays the name of the film along with its ISO/ASA speed, the camera into which it's loaded, how many frames have been recorded so far, and the dates and times of when the film was loaded and unloaded from the camera. Like all of the screens in MetaLog when you start the app for the first time, the Film Catalog starts out blank. But once you've added a camera you can finally get started adding film! Tap the "+" button at the top right of the screen, and that will bring you to the "Add Roll" screen. MetaLog will prompt you to specify the aforementioned information about the roll. (Note that MetaLog automatically pre-fills the "Loaded" date with the current date and time, though you can customize this if you like.) The only required information is the name of the film, the load date, and which camera you're using with it. Everything else is optional, but recommended for easy referencing later.
|
|
|
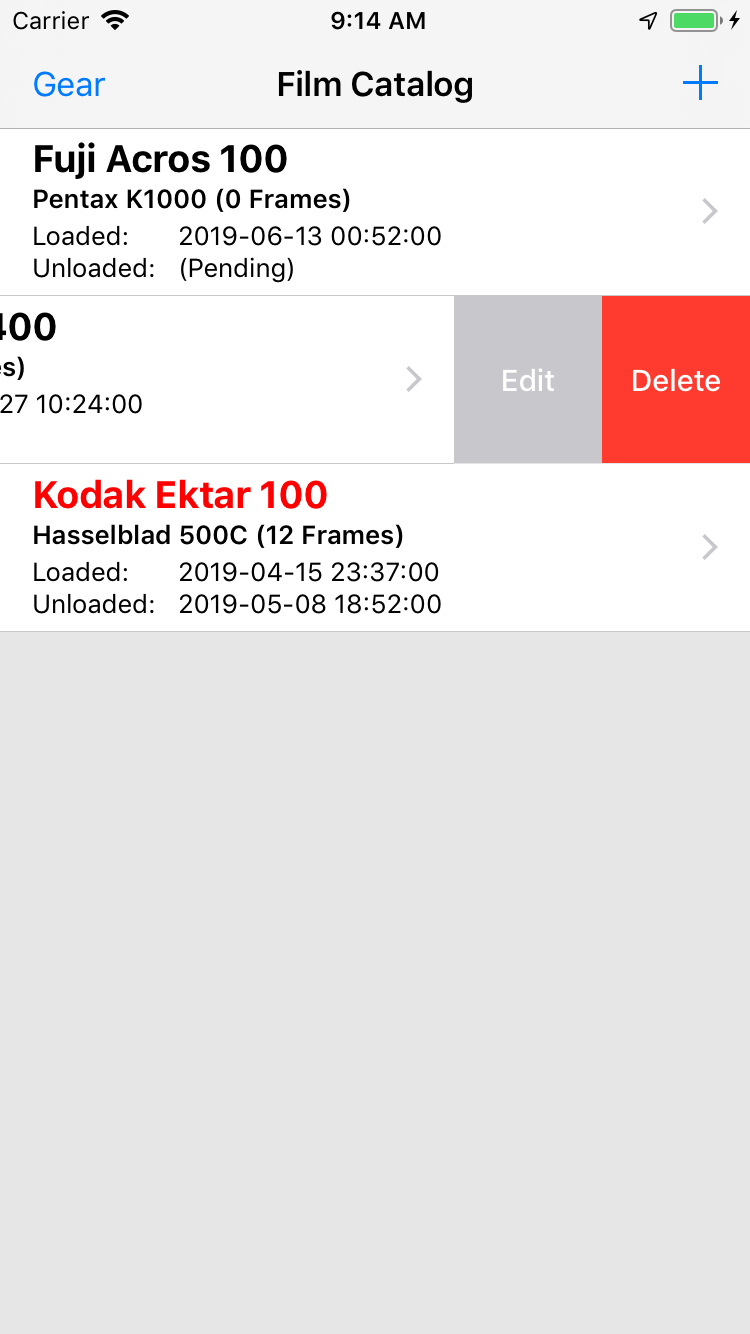
If you made a mistake when adding a roll, going back to edit the information is easy. From the Film Catalog screen, simply swipe left on the roll you want to edit and tap the "Edit" button. This will bring you to the "Edit Roll" screen where you can edit all of the information you'd previously entered. The edit screen is also where you go back to mark that a roll of film has been unloaded from a camera. From the "Edit Roll" screen, add a date to the "Unloaded" field and save. This will mark the roll as having been unloaded from the camera, so you can easily see in the catalog which rolls of film are still loaded into a camera. Unloaded rolls are highlighted in red in the film catalog view. (Handy for not accidentally opening the back of a camera you thought had no film in it!) MetaLog will also notify you of unloaded rolls that are pending processing via the application's notification icon badge on the home screen. NOTE: You can edit the "Loaded" date, but you cannot delete it. NOTE: You cannot add any new frames to a roll that has been unloaded. If you accidentally set a roll as unloaded, simply tap the "Unloaded" field on the "Edit Roll" screen and select "Clear Value" at the bottom of the screen when the date chooser appears. This will re-load the film into the specified camera and allow you to continue adding new frames. |
|
|
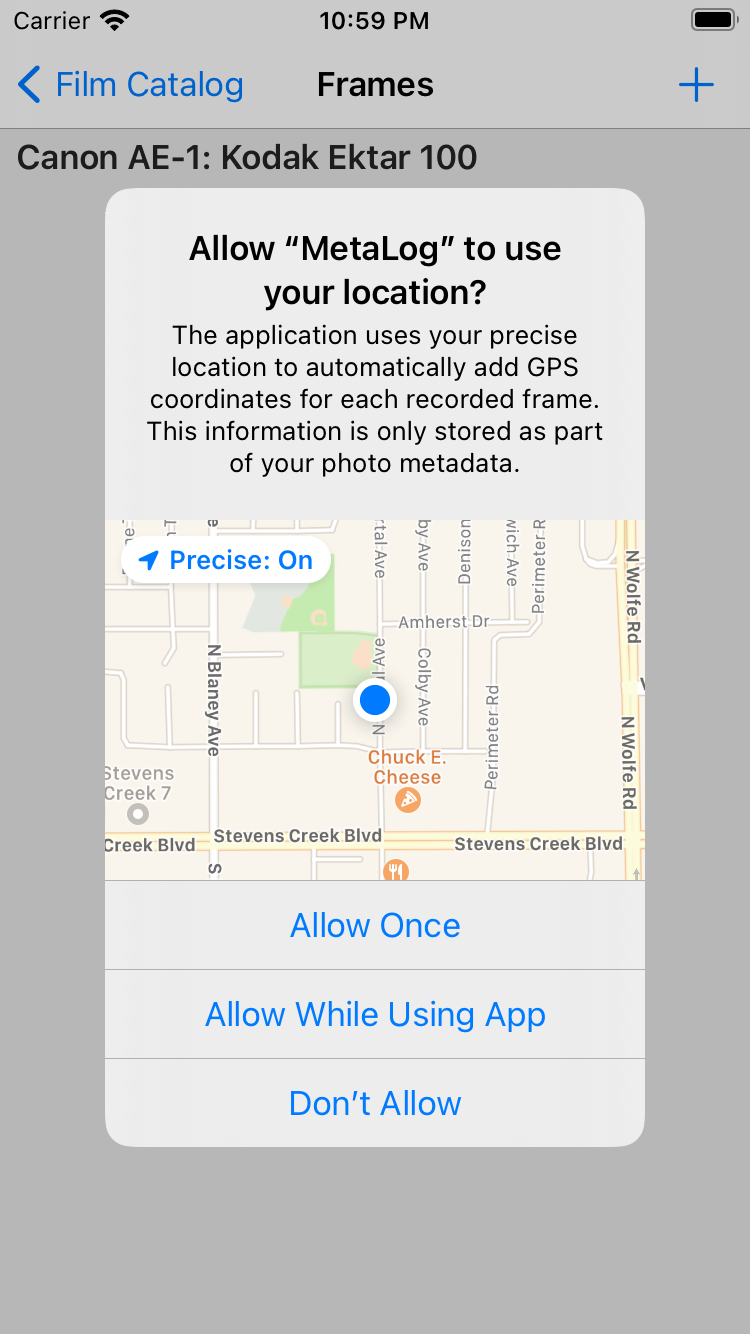
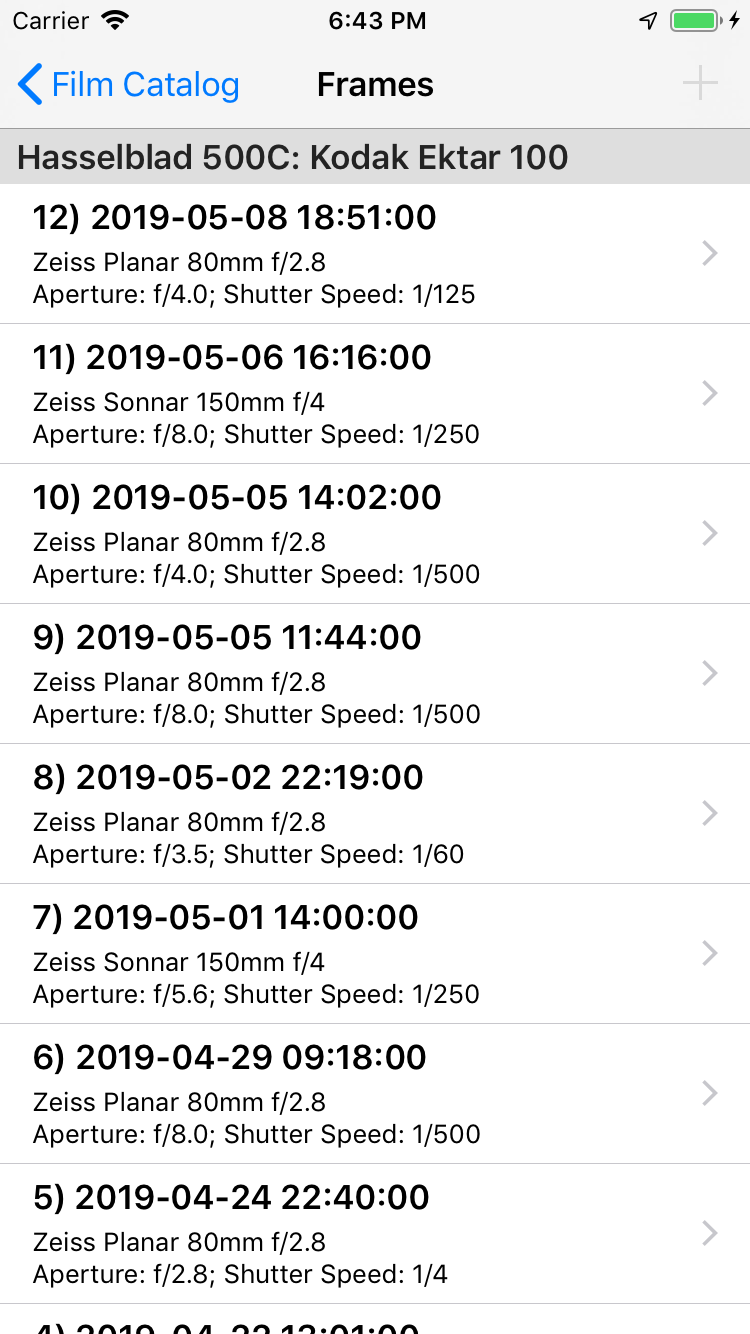
Selecting a roll in the Film Catalog will open that roll, and bring you to the Frames list for that roll. Like an actual roll of film, the list is blank before you've added any shots. If this is the first roll you've added to MetaLog, you will be prompted for permission to use your location. Location information is only ever read while the app is in use, and the only time it's applied is to automatically pre-fill your current location when adding a new frame. "Allow While Using App" is the recommended choice here. Note that for quick reference about which camera is in use, the camera to which the current roll is assigned is displayed in the header at the top of the list, along with the name of the selected film roll and its speed. In this example screenshot, the roll is full and has already been unloaded from the camera (which is why the "+" button is disabled), however you can still easily see all of the quick reference information available for each frame. Frames are displayed in descending order (most recent first), providing quick at-a-glance access to see how many photos have already been shot on the current roll. Just like rolls and gear, frames can be deleted by swiping left and tapping the "Delete" button. |
|
|
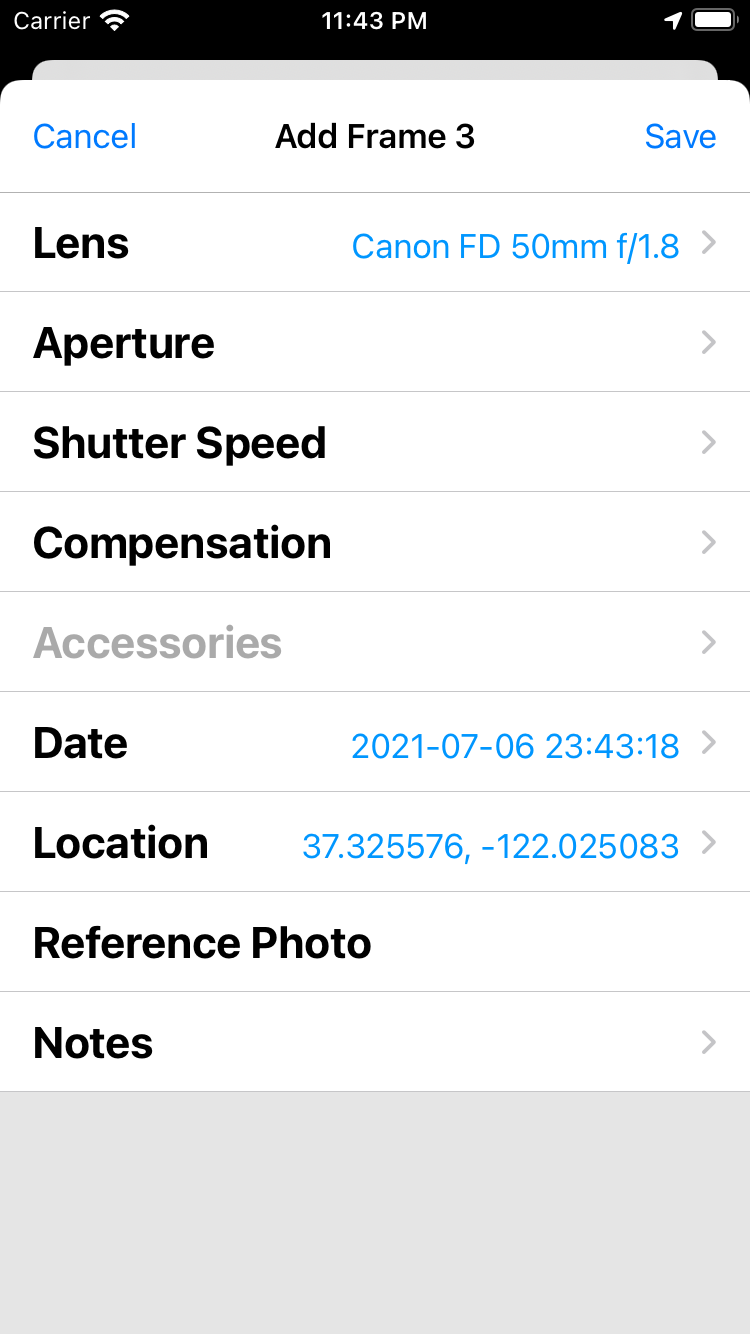
When you've tapped the "+" button after having selected a roll, you are brought to the "Add Frame" screen. Here, MetaLog prompts you to enter the information about the photo you're adding to the roll. From this screen simply tap each of the fields to add the lens used for the photo, aperture, shutter speed, exposure compensation, any accessories used, the date and geographic location, as well as notes about the photo. Note that MetaLog will intelligently pre-fill several of these fields for you, speeding up the process of adding a new frame. The current date and time are also automatically pre-populated, as are the latitude and longitude of your current location. Additionally, for cameras that have only one compatible lens available, MetaLog will automatically pre-select that lens when adding new frames. NOTE: If location access is denied, selecting coordinates will require the user to manually target the map under the "Location" option for each frame where the user desires to enter location information. Once you've added all of the necessary information, tap the "Save" button to add the frame to the roll. |
|
|
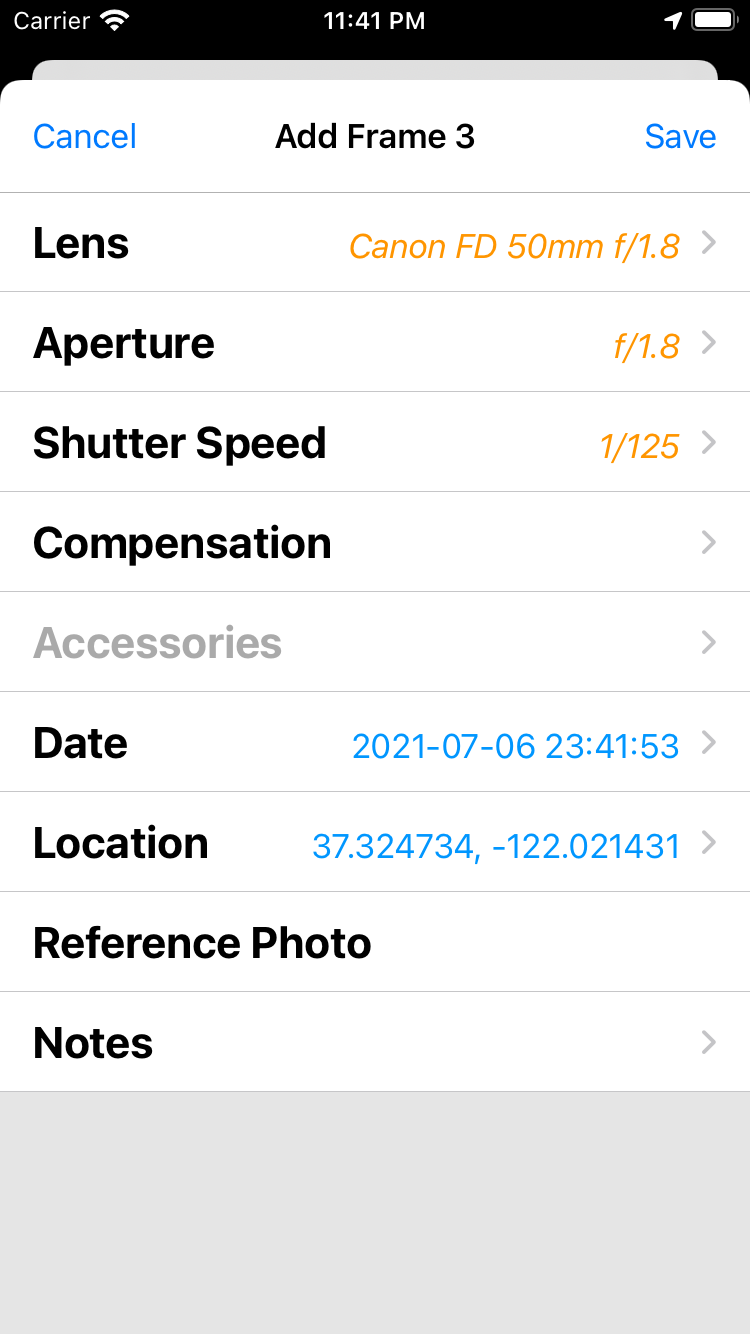
When adding subsequent frames to a roll, MetaLog will pre-fill some additional data. Lens, aperture, shutter speed, and compensation will carry over to the new frame. Data that has been carried over will be colored orange and italicized. You can keep the pre-filled values, or you can change or clear them by tapping them to edit as you would normally. |
|
|
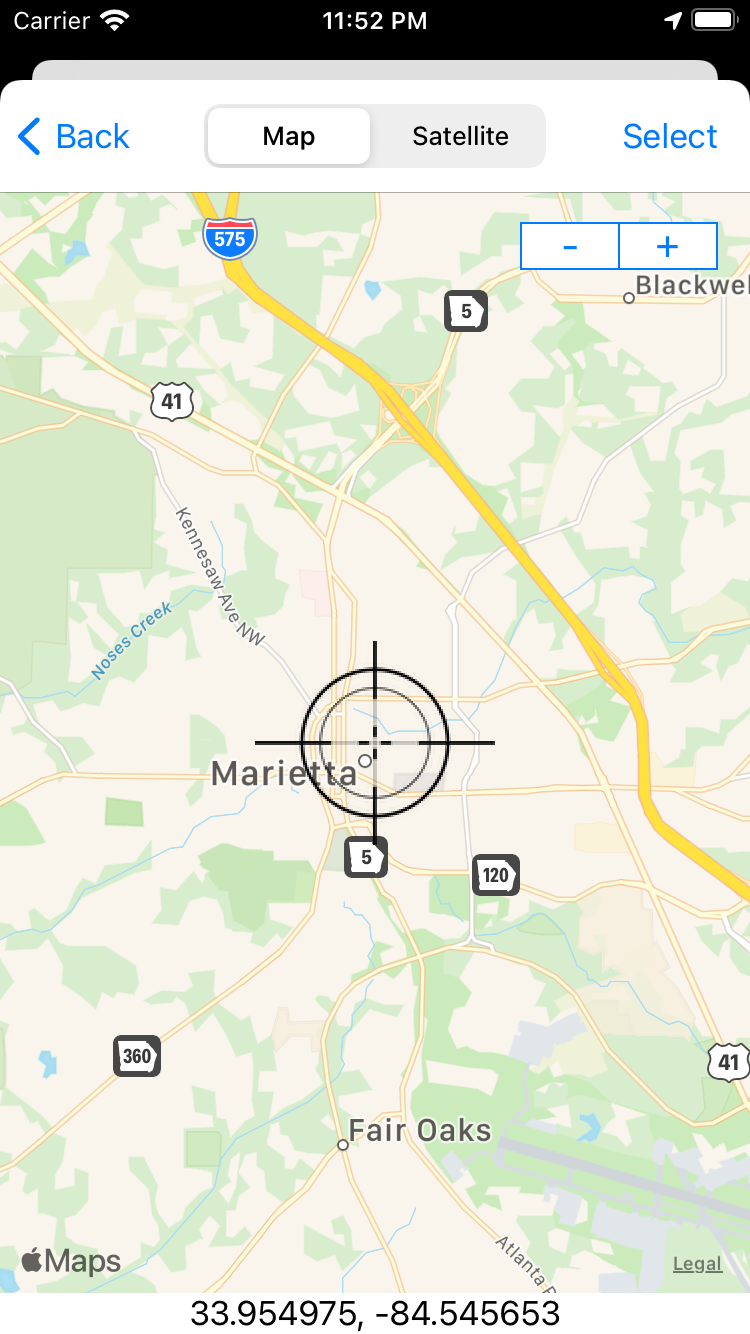
If you choose to manually edit the location information for the frame, you are provided with an interface to Apple Maps. The target in the center of the map represents the currently selected location. When manually positioning your frame's location, you have the option of switching between map view and satellite view. Note that if you switch to satellite view, the target crosshairs will change in color from black to white making it easier to see against the darker satellite image background. For your convenience, the targeted coordinates are displayed at the bottom of the screen. Simply position the map so that the target points to the location where your photo was taken, and tap "Select" to add the coordinates to your frame. |
|
|
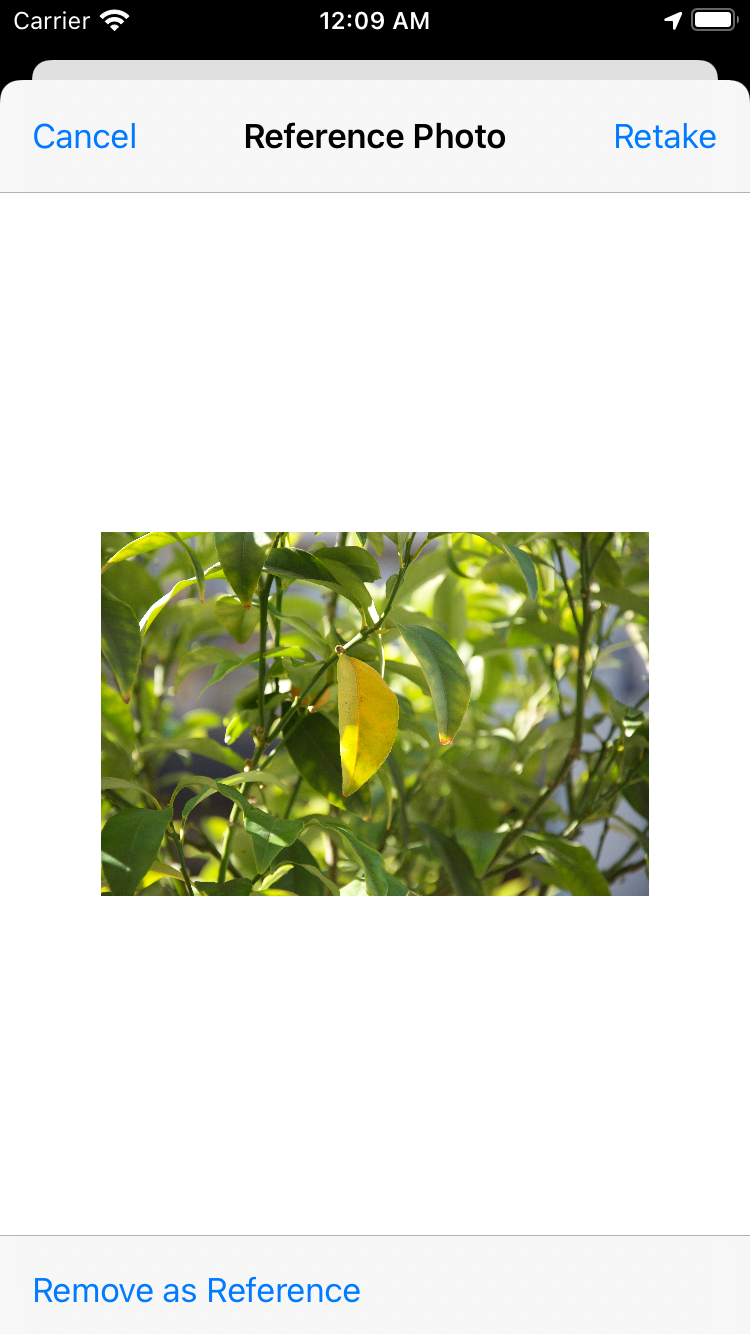
For each frame added to a roll, you also have the ability to add a Reference Photo. This allows you to use your device's camera to take a photo of the scene you've photographed using your film camera. Note that if you have never added a reference photo before, you will be prompted for permission for MetaLog to access your device's camera. Once you've tapped "Reference Photo," MetaLog will open your camera. After taking the photo with your device's camera, the photo is saved to the frame data. To review and/or retake the photo, you can tap "Reference Photo" again, and you will be provided with a preview of the photo as well as options to retake the photo or remove the reference photo from the frame. |
|
|
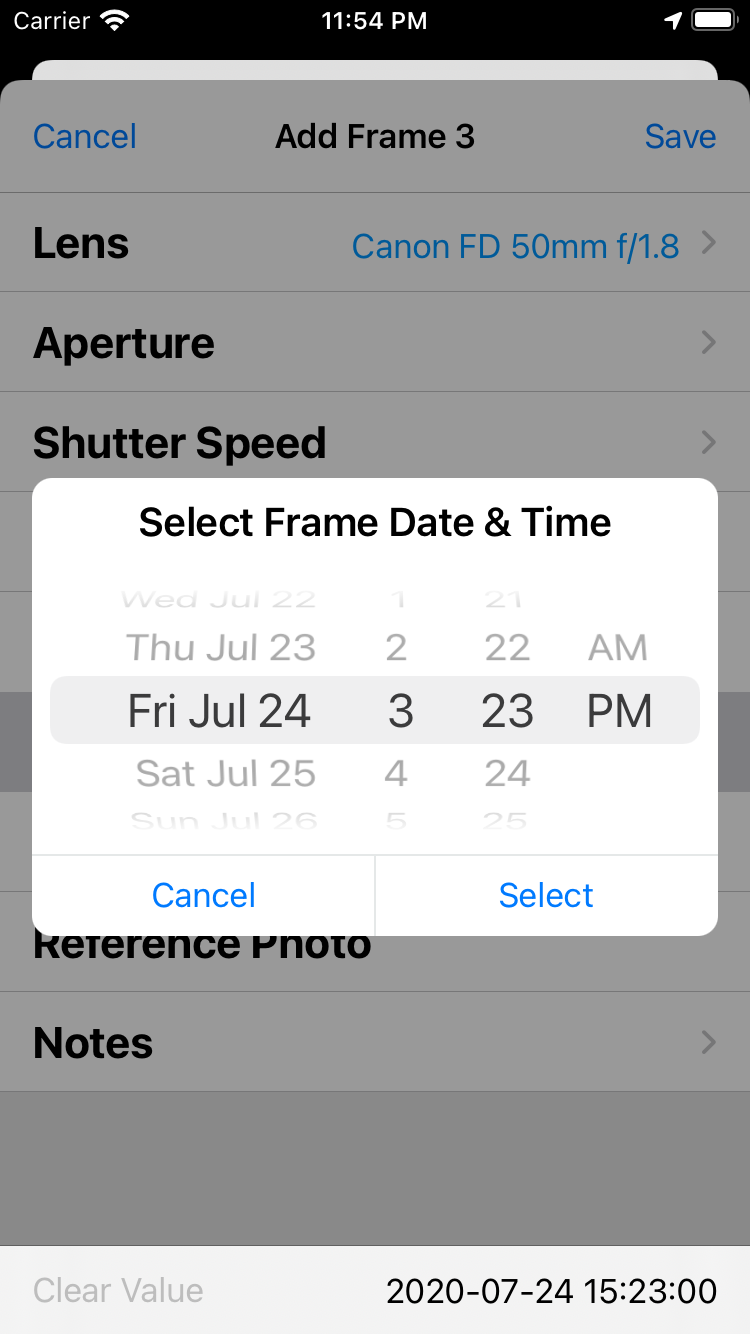
Adding or editing the date for the frame is the same as selecting the loaded/unloaded dates for the roll. If you want to customize this value, tapping the "Date" field displays the date chooser where you can select the day, hour, minute, and AM/PM for when the photo was taken. MetaLog automatically converts the selected date and time to its preferred "YYYY-MM-DD HH:MM:SS" format, displaying this data at the bottom of the screen when the date selector is visible. |
|
|
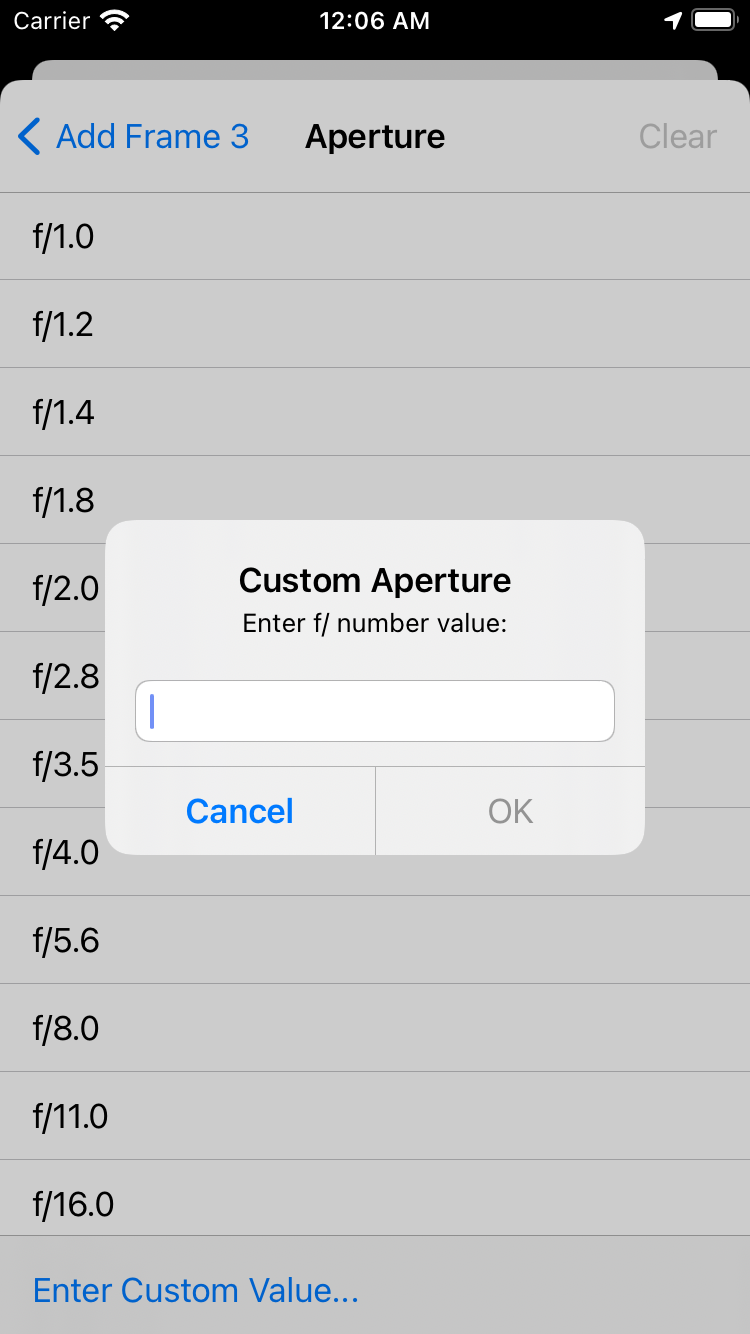
When adding values such as aperture, shutter speed, and exposure compensation to a frame, MetaLog displays a list of common values to select, allowing for quick access to often-used values for each of these settings. However sometimes a shot is exposed using a half- or quarter-stop value requiring custom input. For cases like these, MetaLog gives you the option of specifying a custom value for each of these settings. Simply tap the "Enter Custom Value..." button at the bottom of the screen for each of the selection options. MetaLog will display a popup where you can manually enter the desired value. Tapping "OK" will add that value to your frame. |
|
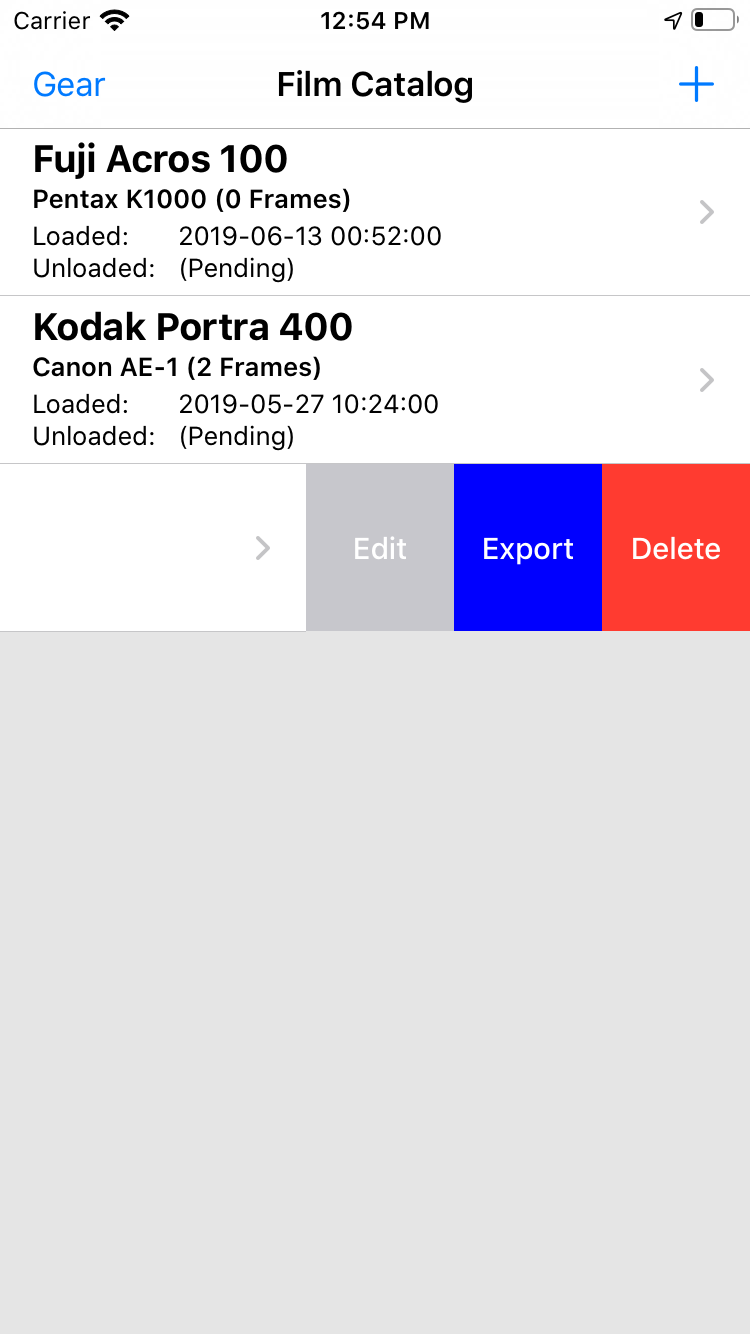
You have a couple of options for retrieving data from MetaLog once you've finished up a roll. Obviously you have the ability to review each frame and re-type the information manually into the metadata of yor photos, but MetaLog also offers the ability for you to export your unloaded rolls as comma-separated (CSV) text files. To export your roll as a CSV, first make sure that the roll has been "unloaded." (You cannot export rolls that are still in use.) From the main catalog view, swipe left on the roll you wish to export. You will see a blue "Export" button. When you tap "Export," MetaLog will create a CSV file containing all of the frames in the roll, and it will open the share sheet allowing you to save or send the file using various different methods. If one or more frames in the roll contain a reference photo, MetaLog will export a bundle file containing the CSV as well as all reference photos. |
|
This application is provided by Christopher R. Curzio and is intended for use "as is" without warranty of any kind, either express or implied.
If you choose to use the application, then you agree to the collection and use of information in relation to this policy. The Personal Information collected is used solely by the application and does not leave the device. No personally-identifiable information of any kind is collected by the application, and no information that is collected is sent by the application except as part of performance analytics collected by Apple, Inc.
This privacy policy may be modified at any time without notice. By using the application you are agreeing to be bound by the then current version of the privacy policy.
© 2019-2021 Christopher R. Curzio